Setup
Get your Docket drive ready to use in just a few minutes.
Connecting Your Docket
-
Insert the USB drive into any available USB port on your computer. For best performance, use a USB 3.1 or higher port.
-
Wait for the drive to mount — You should see a new drive appear named "Docket"

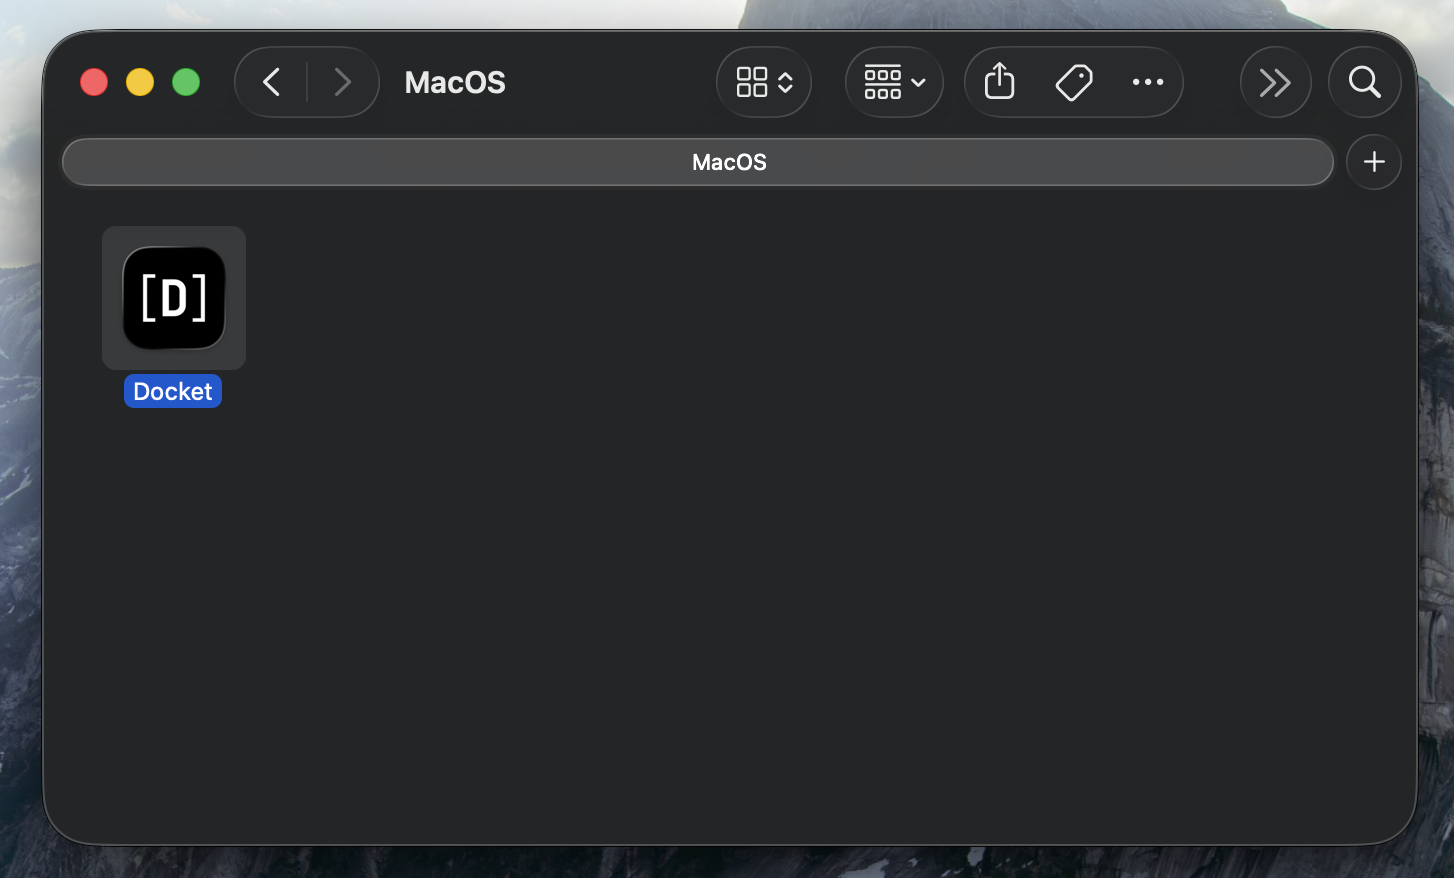
Screenshot shown on macOS. Similar process applies for Windows and Linux.
- Open the Docket drive — You'll see the following folder structure:
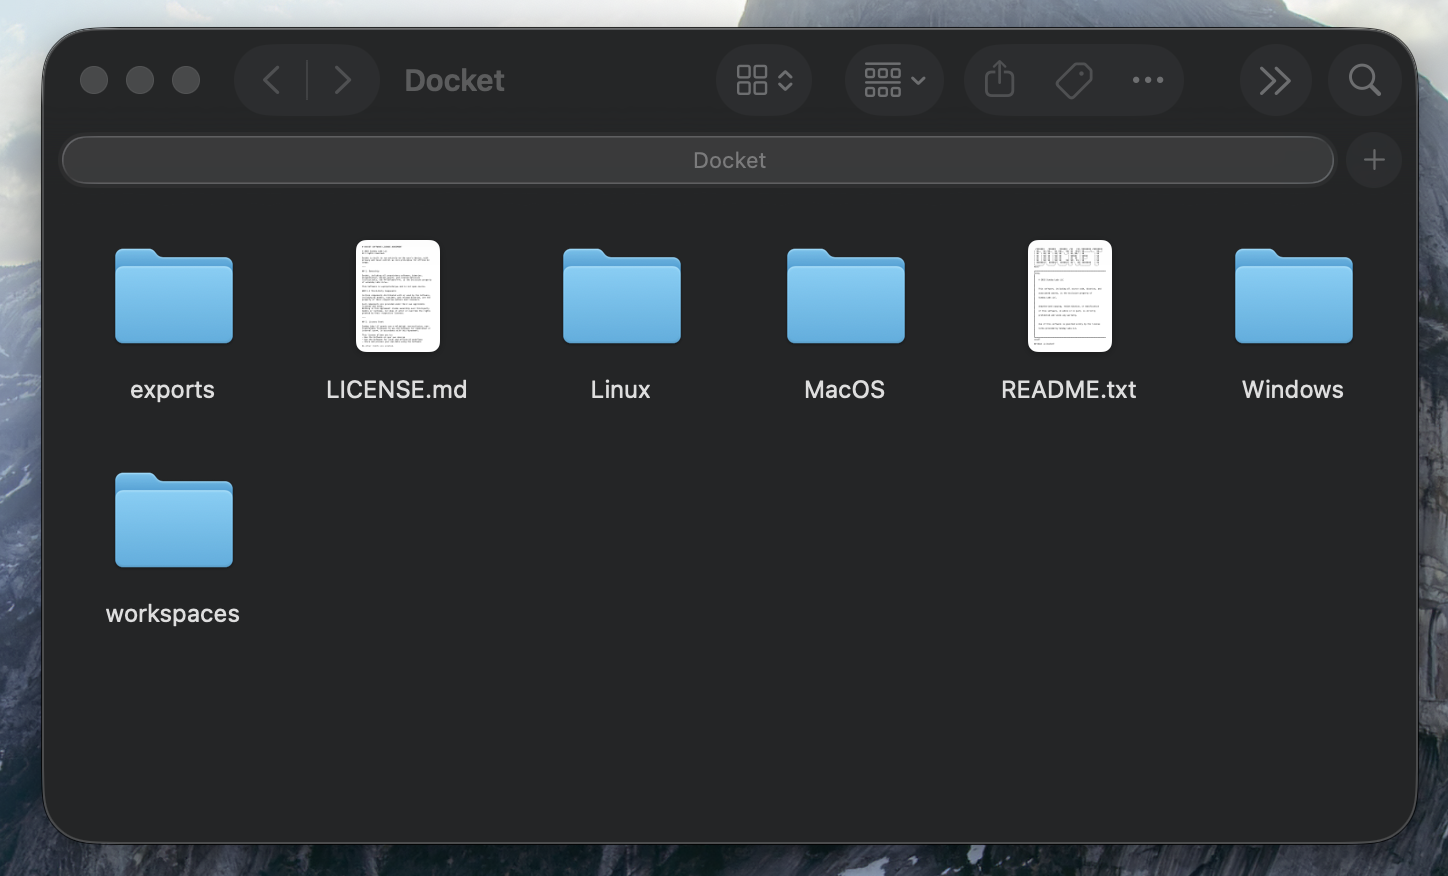
The drive contains:
- MacOS — Application for macOS
- Windows — Application for Windows
- Linux — Application for Linux
- exports — Where your exported files are saved
- workspaces — Your workspace data
- README.txt — Quick start information
- LICENSE.md — License information
- Launch the application for your operating system:
- macOS: Open the
MacOSfolder and double-clickDocket - Windows: Open the
Windowsfolder and runDocket.exe - Linux: Open the
Linuxfolder and run thedocketexecutable
- macOS: Open the
Never reformat, rename, or reorganize the folders on your Docket drive. The folder structure is essential for Docket to function properly. Modifying it may permanently break your Docket and result in data loss.
First-Time Setup
When you launch Docket for the first time, you'll see the welcome screen:
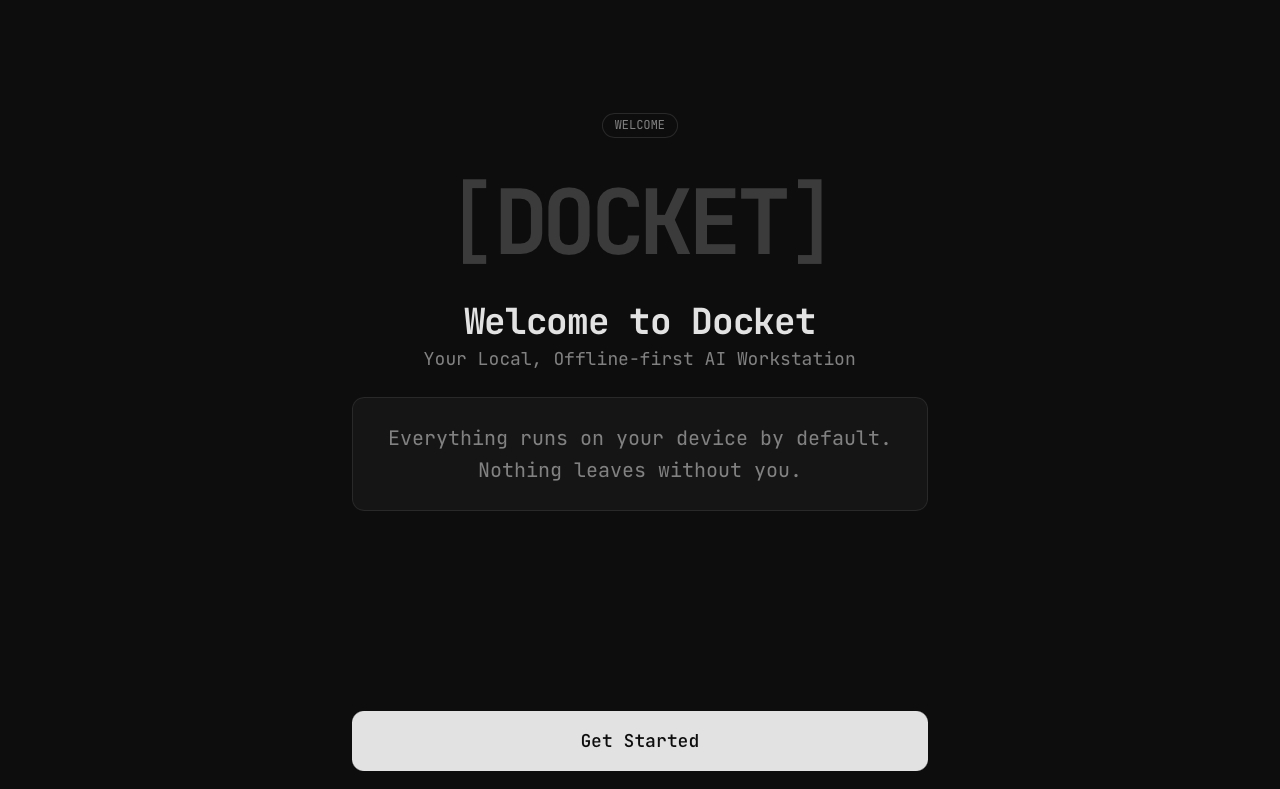
Click Get Started to begin the setup process. You'll then be prompted to configure your vault:
Option 1: Encrypted Mode (Recommended)
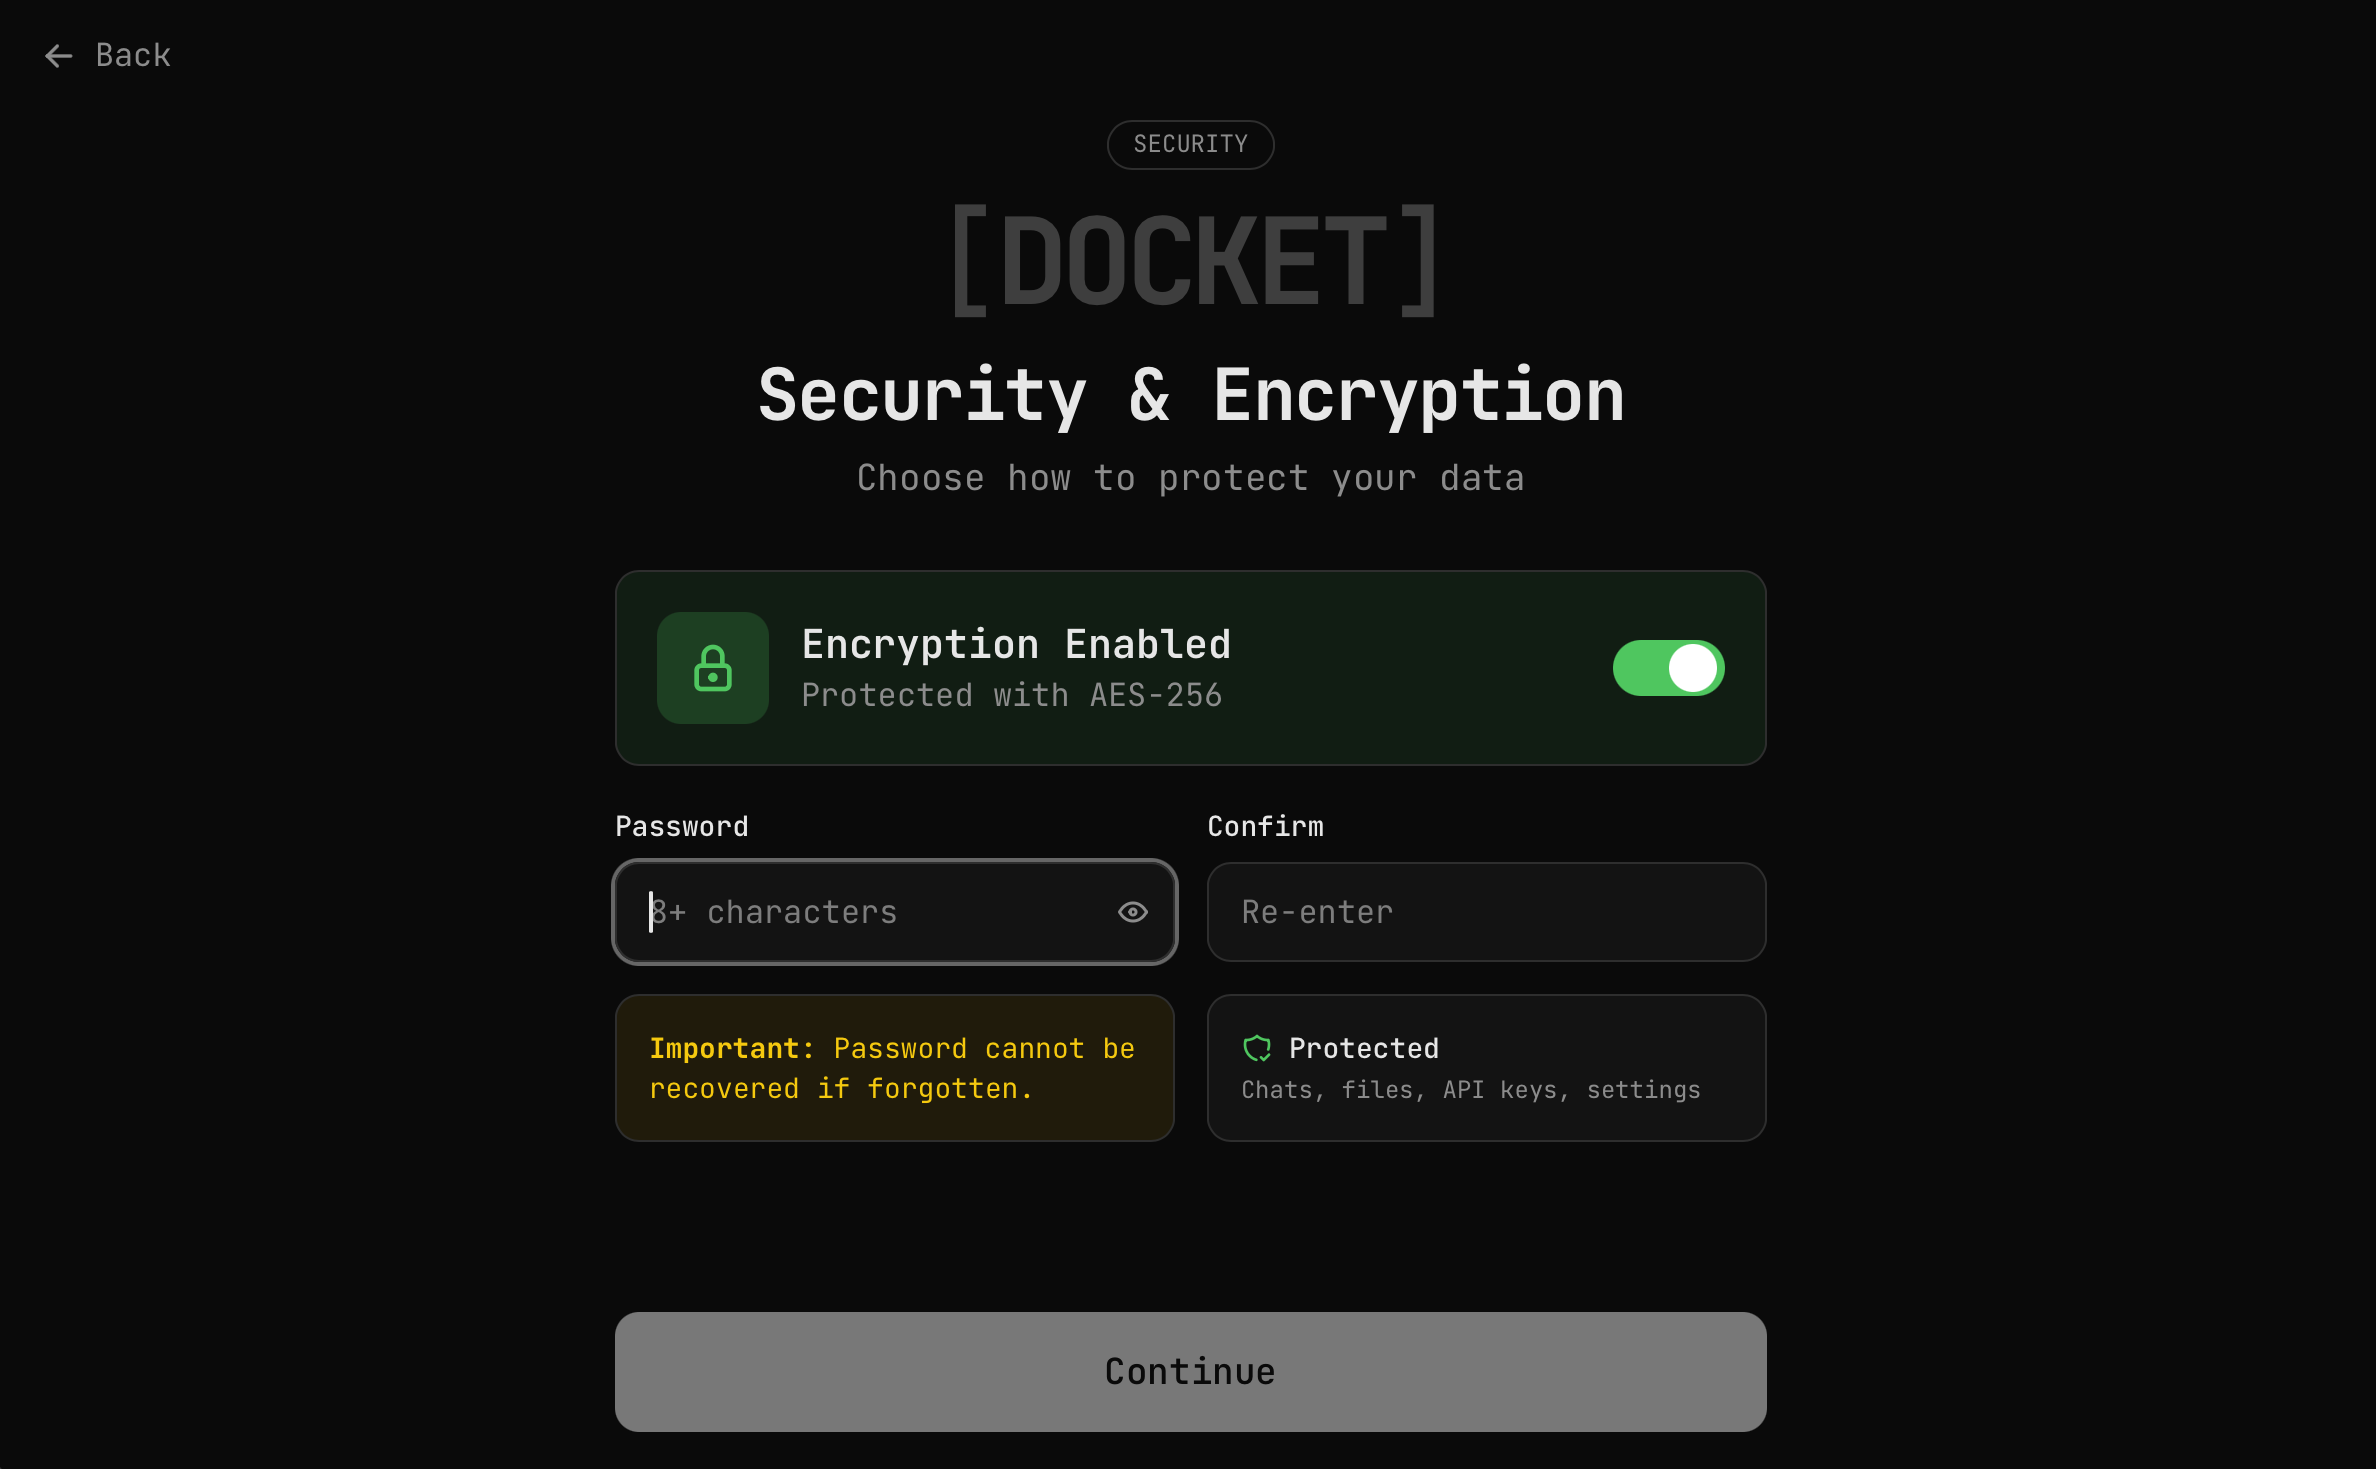
- Toggle "Encryption Enabled" on (it's on by default)
- Enter a strong password (8+ characters)
- Confirm your password
- Click Continue
- Your vault is now protected with AES-256 encryption
Remember your password! There is no way to recover a forgotten password. Your encrypted data will be permanently inaccessible without it.
Option 2: Unencrypted Mode
- Choose "Skip Encryption"
- Your data will be stored in plaintext
- No password is required to access your data
You can switch between encrypted and unencrypted modes at any time in Settings.
Verifying Installation
Once setup is complete, you'll see the "Ready to go!" screen confirming everything is configured:
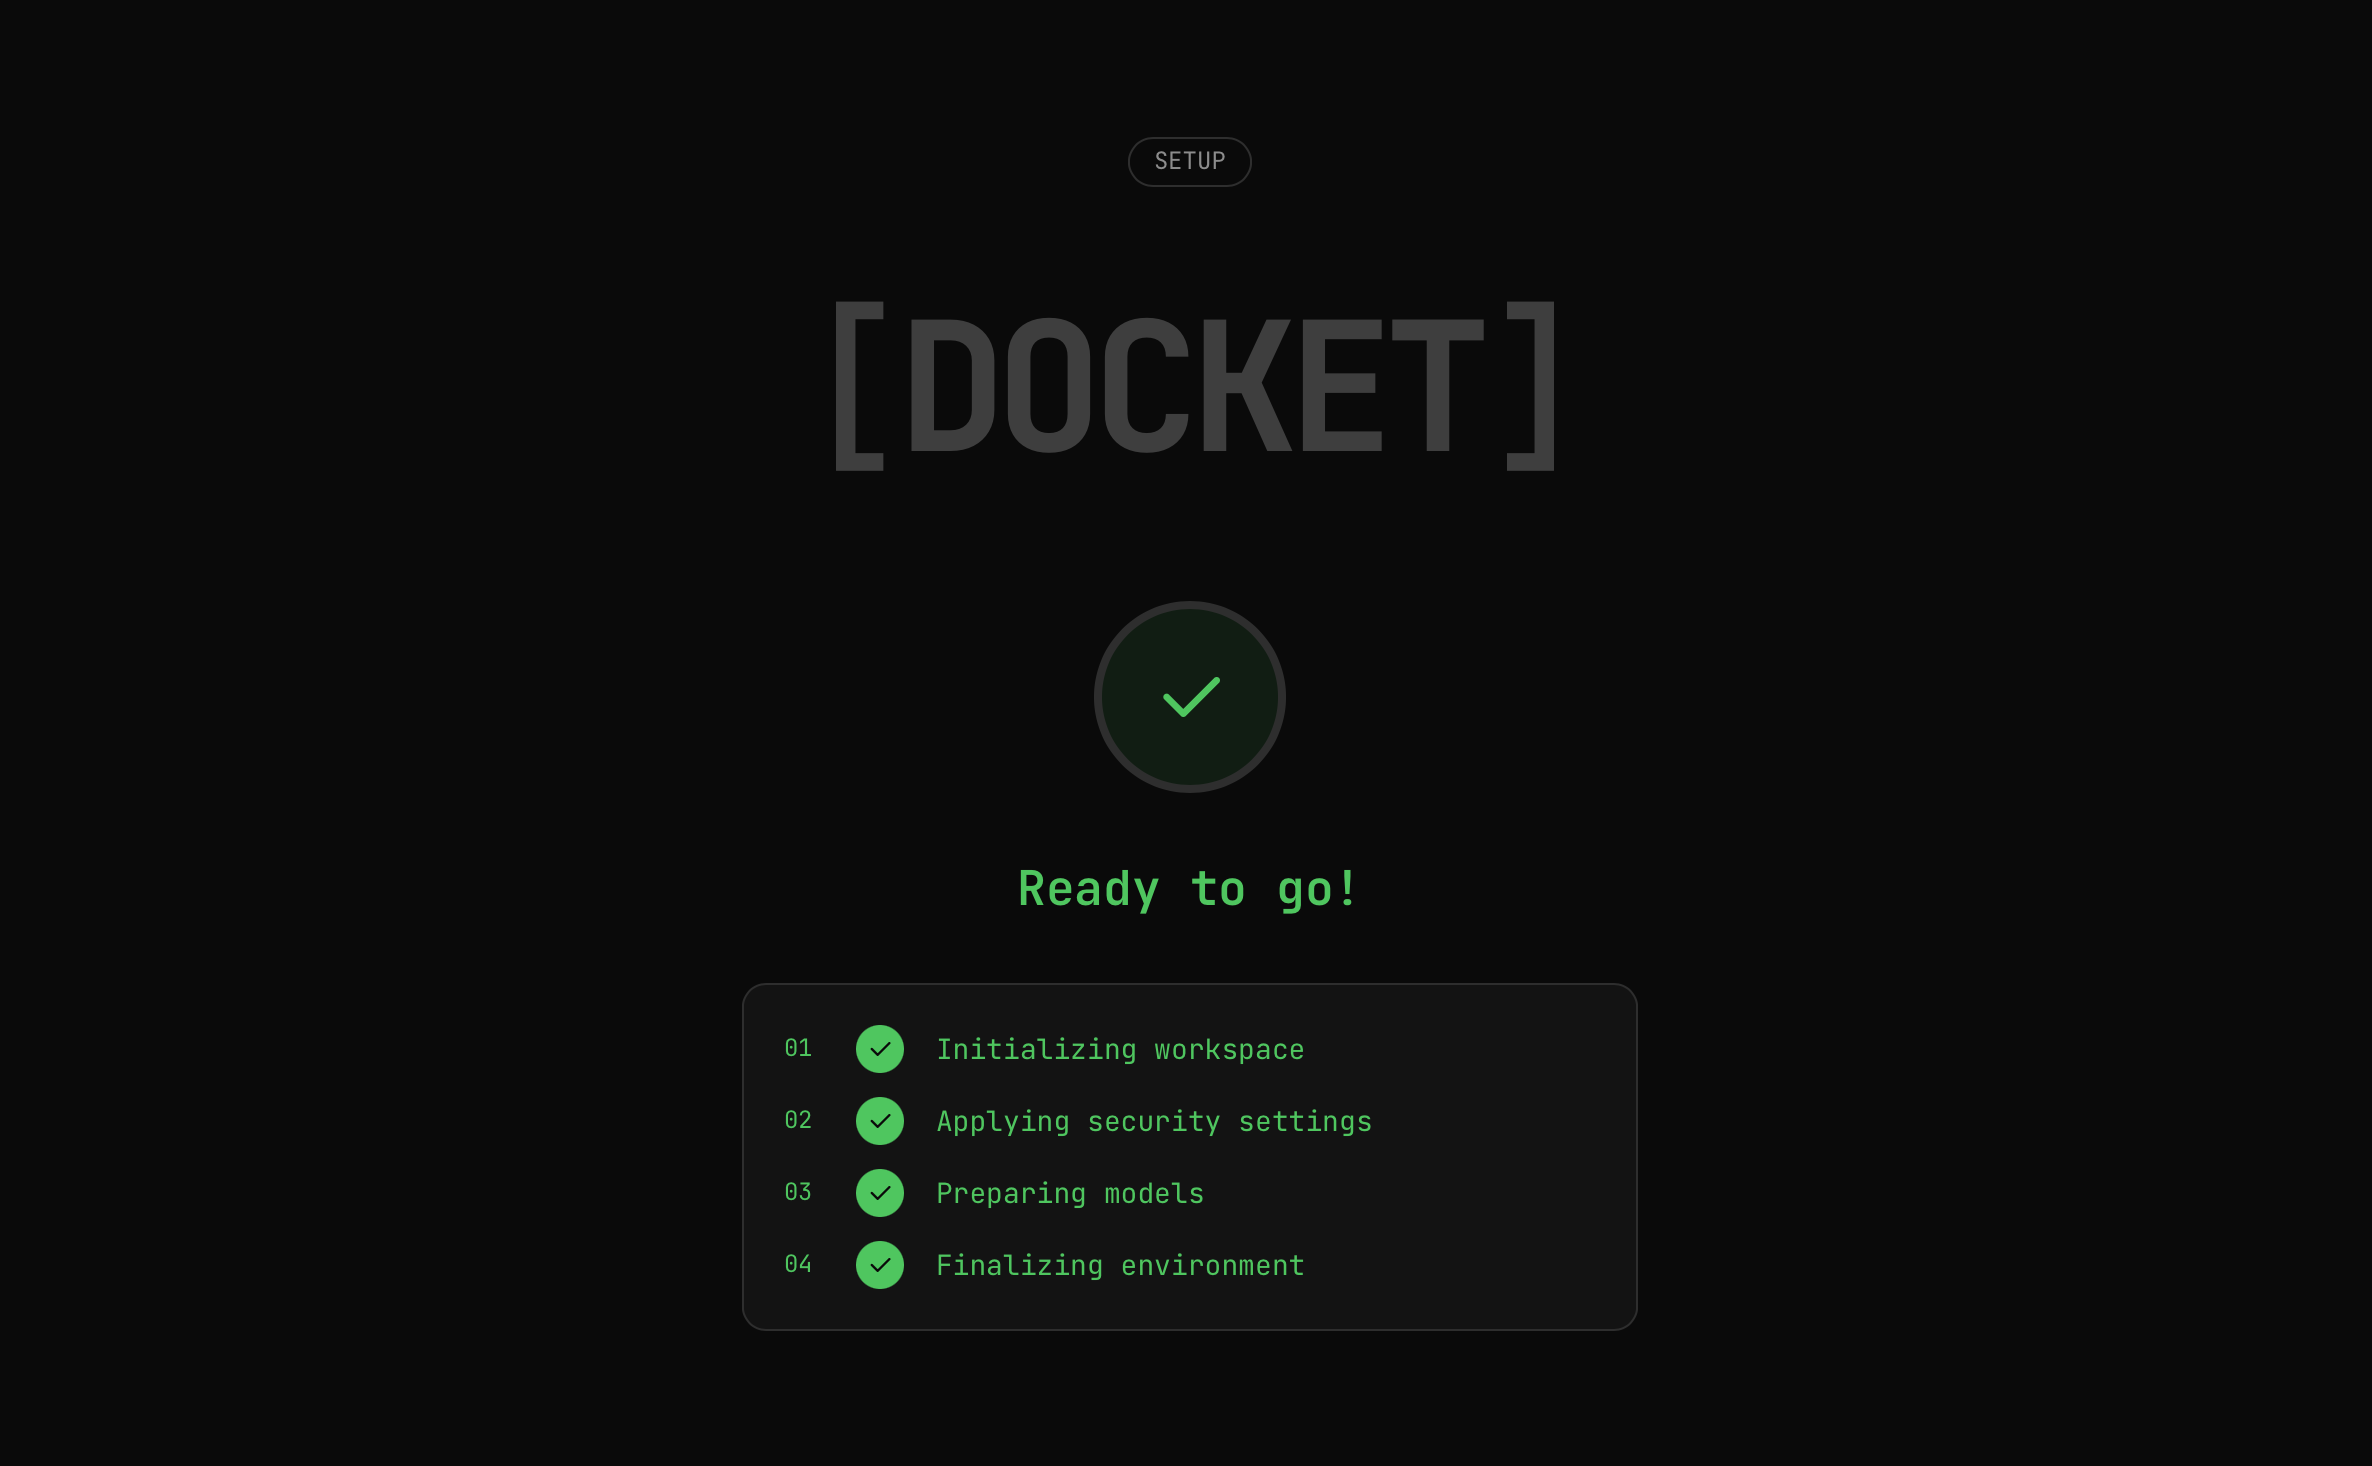
Docket will:
- Initialize your workspace
- Apply your security settings
- Prepare the AI models
- Finalize the environment
After this, you'll be taken to the main chat interface.
Next Steps
- First Run — Learn the basics of using Docket
- System Requirements — Check compatibility

